Junit
How to use Junit5, the java testing framework.
Introduction
What is JUnit 5?
Unlike previous versions of JUnit, JUnit 5 is composed of several different modules from three different sub-projects.
JUnit 5 = *JUnit Platform* + *JUnit Jupiter* + *JUnit Vintage*
The JUnit Platform serves as a foundation for launching testing frameworks on the JVM. It also defines the TestEngine API for developing a testing framework that runs on the platform. Furthermore, the platform provides a Console Launcher to launch the platform from the command line and the JUnit Platform Suite Engine for running a custom test suite using one or more test engines on the platform. First-class support for the JUnit Platform also exists in popular IDEs (see IntelliJ IDEA, Eclipse, NetBeans, and Visual Studio Code) and build tools (see Gradle, Maven, and Ant).
JUnit Jupiter is the combination of the programming model and extension model for writing tests and extensions in JUnit 5. The Jupiter sub-project provides a TestEngine for running Jupiter based tests on the platform.
JUnit Vintage provides a TestEngine for running JUnit 3 and JUnit 4 based tests on the platform. It requires JUnit 4.12 or later to be present on the class path or module path.
Add Dependency
Ref
- Supported Java Versions: Java 8 (or higher).
Add Junit5 dependency using Maven:
Edit in pom.xml:
1 | <dependencies> |
Create Tests
我们要测试的source code为:
1 | import java.util.stream.DoubleStream; |
只需要写一个类, 其中使用Junit提供的Api进行测试
1 | class CalculatorTest{ //类名任意, 关键在于使用@Test等Junit提供的注解 |
IDEA Junit Support
Create Junit Tests in IDEA
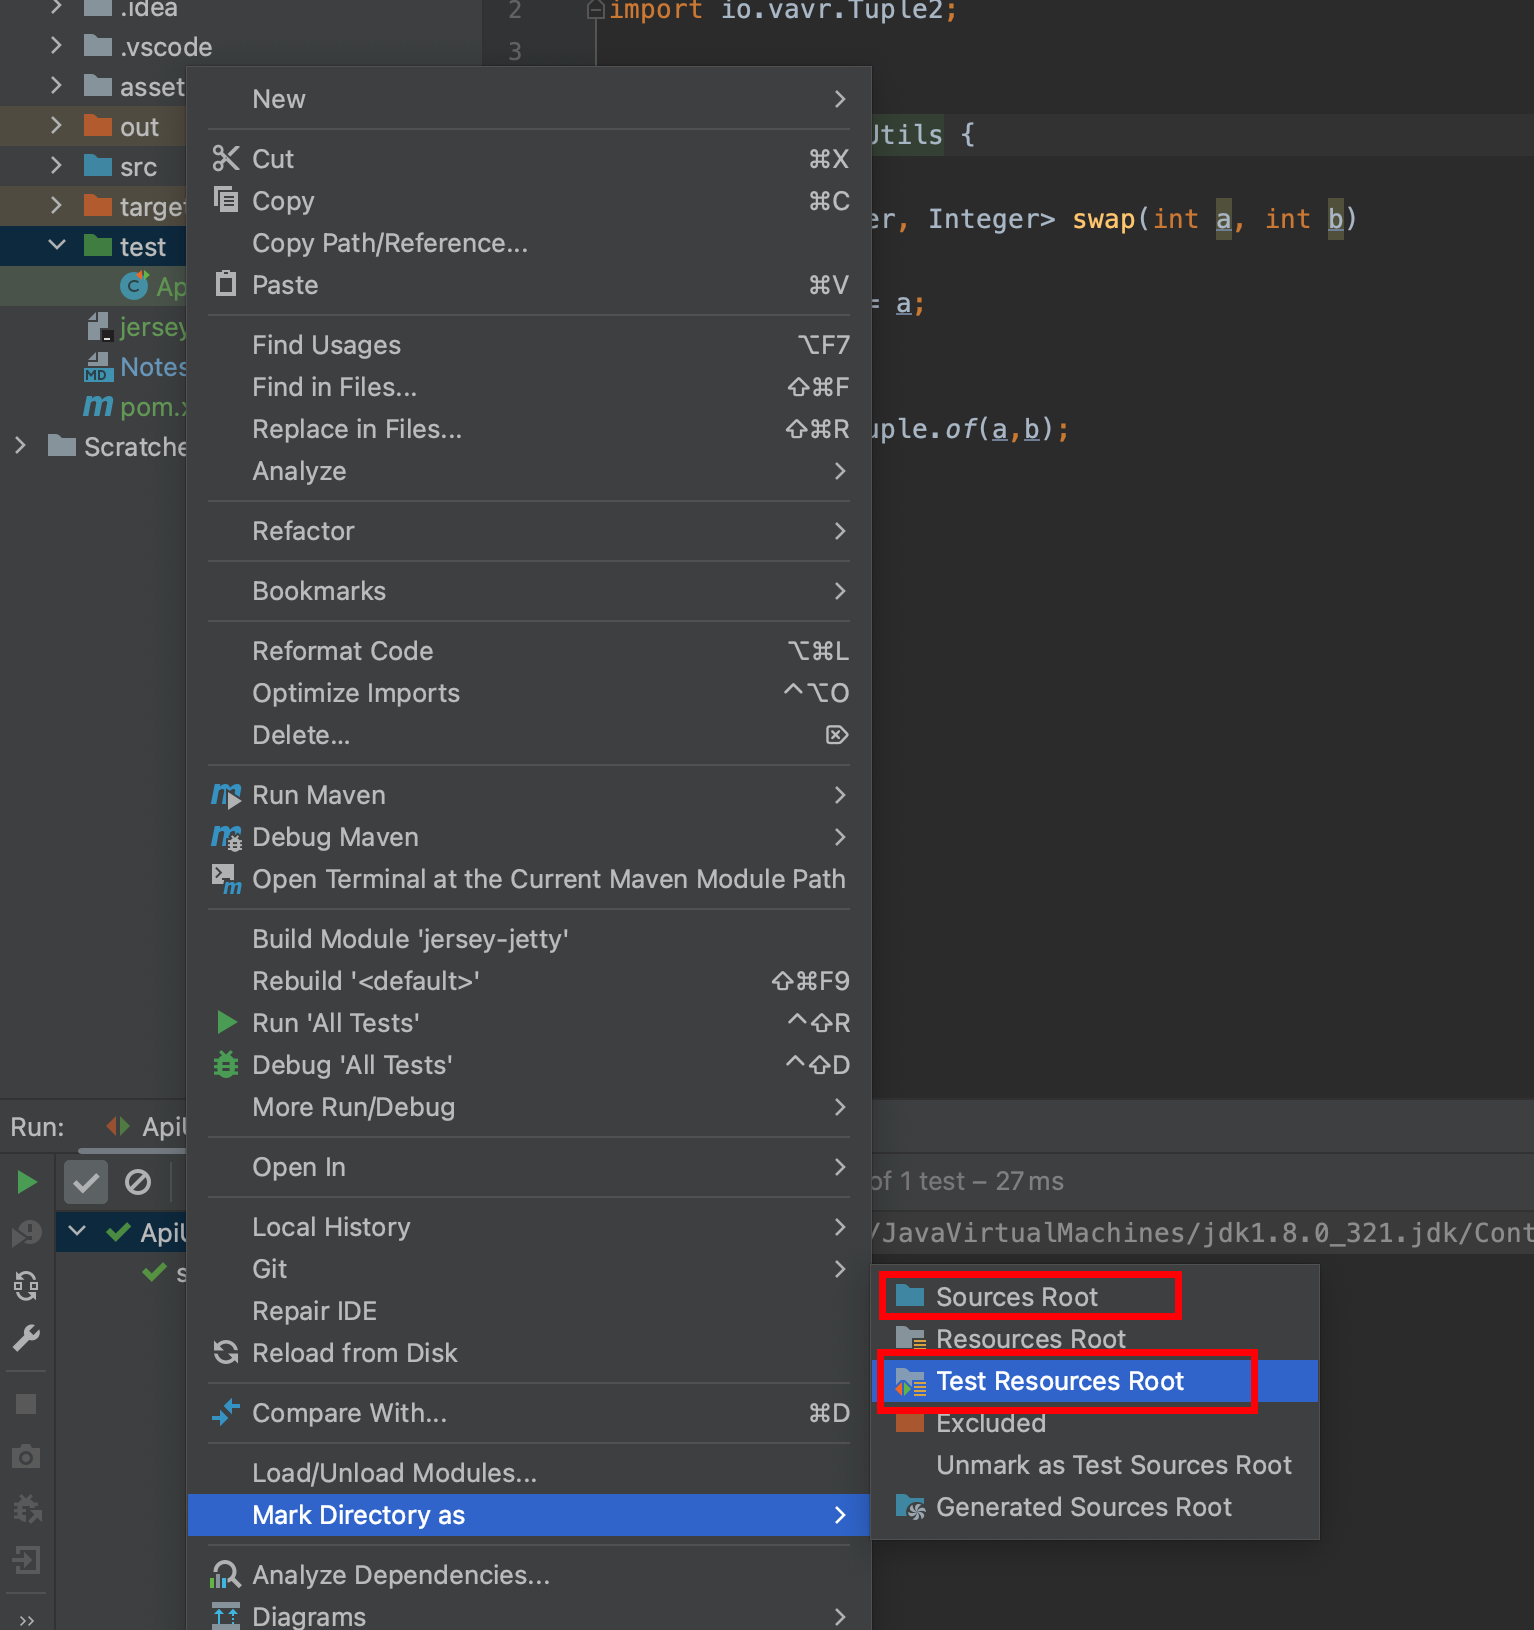
IDEA提供了方便的Junit支持. 首先, 我们把源代码和测试类代码分别放在两个目录下, 前者标记为"Source Root", 后者标记为"Test Root".
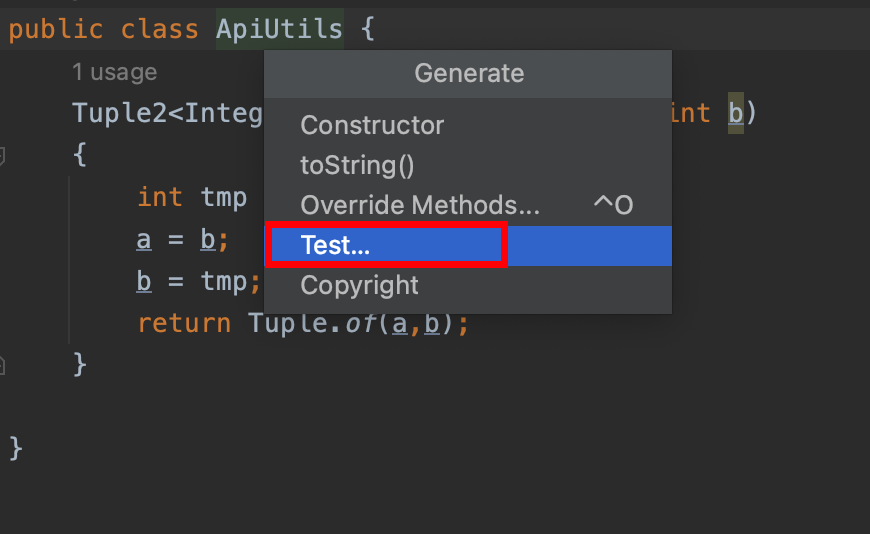
只要右击想要测试的类的类名, 在菜单中选择Generate.. -> Test类, 即可在Test Root下生成测试类.
Annotations
Version: Junit5.
@BeforeEach: 每个test method运行前都会执行一次@BeforEach方法. (如果一个测试类有N个测试方法, 则会运行N次)@BeforeAll: 在每个test class运行前都会执行一次@BeforAll方法. (每个测试类只运行1次)- 在Junit4中, @BeforeEach and @BeforeAll的名字分别是@Before and @BeforeClass.